As your team and codebase grow, CI/CD pipelines slow down. What took 5 minutes now takes 20. Your cluster might not match your Git repo anymore, and deployments feel out of sync.
That’s the problem GitOps solves. GitOps uses your GitHub repository as the single source of truth. Traditional CI/CD pipelines build, test, and then deploy. GitOps with ArgoCD works differently; it continuously monitors your Git repository and automatically syncs your Kubernetes cluster to match whatever is in Git. This means your cluster always reflects the desired state defined in your repository, without waiting for lengthy pipeline runs.
This article provides a step-by-step guide on how to effectively set up and deploy an application using ArgoCD. It’s intended for developers, DevOps engineers, and anyone interested in streamlining their application deployment processes with GitOps principles.
For demonstration purposes, I’ll create a Spring Boot application. I’ll link my repo so you can make it easier to implement. Your settings should look like this:
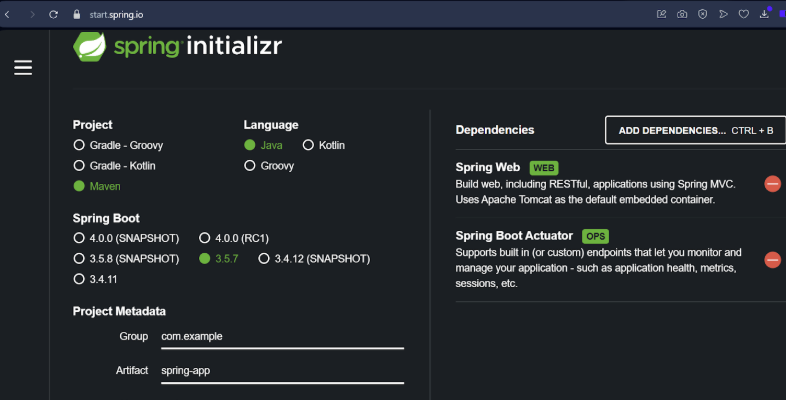
I used start.spring.io to generate a Spring Boot application. A Maven project built using Java, named appropriately without capital letters! Add two dependencies: Spring Web (for REST API) and Spring Boot Actuator for health checks, accessible via ipaddress/actuator/health.
The artefact generated should be a .jar file with Java 21.
Prerequisites
Before you begin, make sure you have the following:
- Docker is installed and set up, and a DockerHub account
- A Kubernetes cluster (e.g., Minikube, kind, GKE, EKS, AKS). I’m using AKS.
- kubectl is installed and configured to connect to your cluster
- helm installed (for installing ArgoCD)
- Basic understanding of Kubernetes concepts (Deployments, Services, Ingress, Namespaces)
- A Git repository (GitHub, GitLab, Bitbucket, etc.) containing your application’s Kubernetes manifests
Setting Up Your Application
Clone the GitHub repository: https://github.com/DivineTheAnalyst/spring-argocd.git
Build the Dockerfile and tag it using:
docker build -t “dockerhubusername/imagename: latest”.
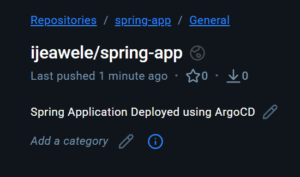
Make sure you have created and logged into your Docker and DockerHub accounts via the terminal. If you’re building locally, have Docker Desktop installed and running; it will be your Docker engine.
Creating Your AKS Cluster
I’ll be creating an AKS cluster using Azure CLI (Command Line Interface).
First, install Azure CLI, then run:
az configure

az login
A feature I like about Azure over AWS is the lack of access keys, which reduces the chances of exposing something sensitive. You’ll be redirected to your browser to log in, or you’ll get a link in your terminal.
Note: You must have a Subscription to create resources on Azure. New users usually get $200 credits; make sure to take advantage of that.
Create the Resource Group
A resource group is the logical grouping of your resources in Azure, especially ones that work together or are dependent on one another. It can also be used to group resources according to department or environment.
Create via Azure CLI:
az group create –location eastus –resource-group aks-cluster
It can also be created via the portal by searching for “Resource Groups” and clicking Create.
Create the AKS Cluster
az aks create

--resource-group aks-cluster

--name spring-app

--node-count 2

--node-vm-size Standard_B2s

--nodepool-name nodepool1

--location eastus

--enable-cluster-autoscaler

--min-count 2

--max-count 4

--generate-ssh-keys

--load-balancer-sku standard

--enable-managed-identity
This command automatically creates a node pool with the specified node count.
Configure kubectl
Update your .kube/config to use the newly created cluster as the current context. This allows you to use the kubectl client to interact with the Kubernetes components.
az aks get-credentials –resource-group aks-cluster –name spring-app
Deploying the Spring Boot Application
In the kubernetes/ directory, there are configuration files: deployment.yaml and service.yaml. Update the image section with your own image name and DockerHub username.
Apply all the manifest files at once:
kubectl apply -f kubernetes/ or cd into the kubernetes directory and run kubectl apply -f .
Once the deployment and service are created, get the LoadBalancer link to access the application via browser. Make sure port 8080 is open in your security group.
Configuring the API Endpoint
After getting your LoadBalancer IP, you might see a “Whitelabel Error Page” when you access it. This is because we need to configure an API endpoint.
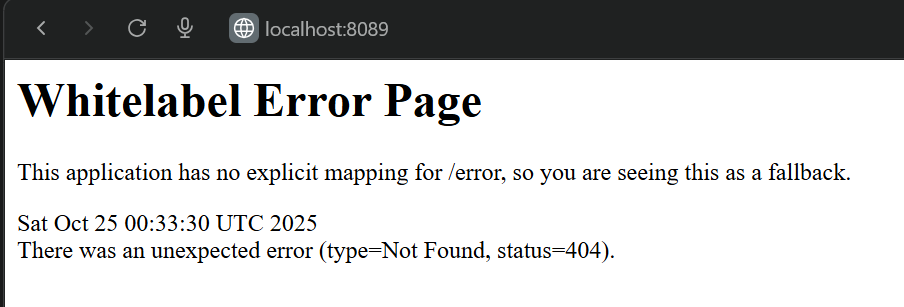
Go to: src/main/java/com/example/spring_app/controller
Create a HelloController.java file (if you cloned my repo, you already have it).
Now test locally first:
docker run -p 8089:8080 dockerhubusername/spring-app:latest
Visit localhost:8089/hello in your browser to verify it works.
Important: Make sure the Java base image in your Dockerfile is JDK, matching the OpenJDK-21 installed on your local machine.
1. Install ArgoCD
This section details the installation process of ArgoCD onto your Kubernetes cluster.
1.1 Create a Namespace for ArgoCD
kubectl create namespace argocd
1.2 Install ArgoCD using Kubectl
kubectl apply -n argocd -f https://raw.githubusercontent.com/argoproj/argo-cd/stable/manifests/install.yaml
1.3 Verify ArgoCD Installation
kubectl get pods -n argocd
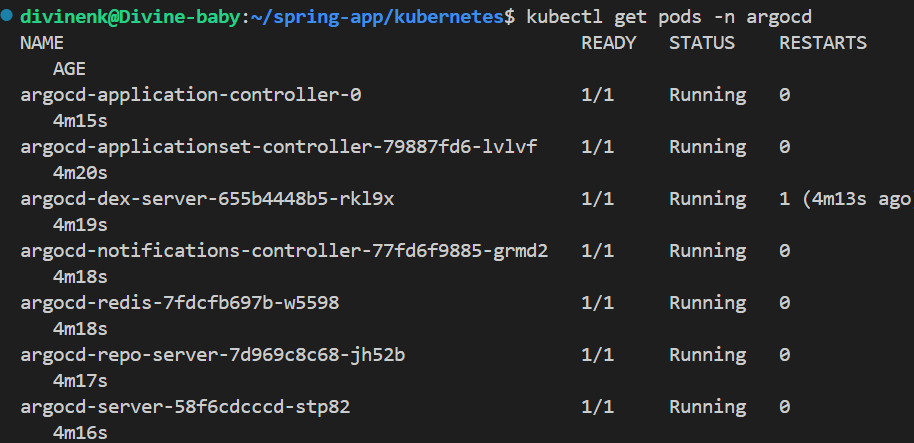
Make sure all ArgoCD pods are running. If you notice some pods keep pending, you need to add more nodes. I initially provisioned one node in my cluster but had to scale to two.
2. Access the ArgoCD UI
This section explains how to access the ArgoCD web interface, which provides a visual overview of your applications.
2.1 Port Forward the ArgoCD Server
kubectl port-forward svc/argocd-server -n argocd 8080:443
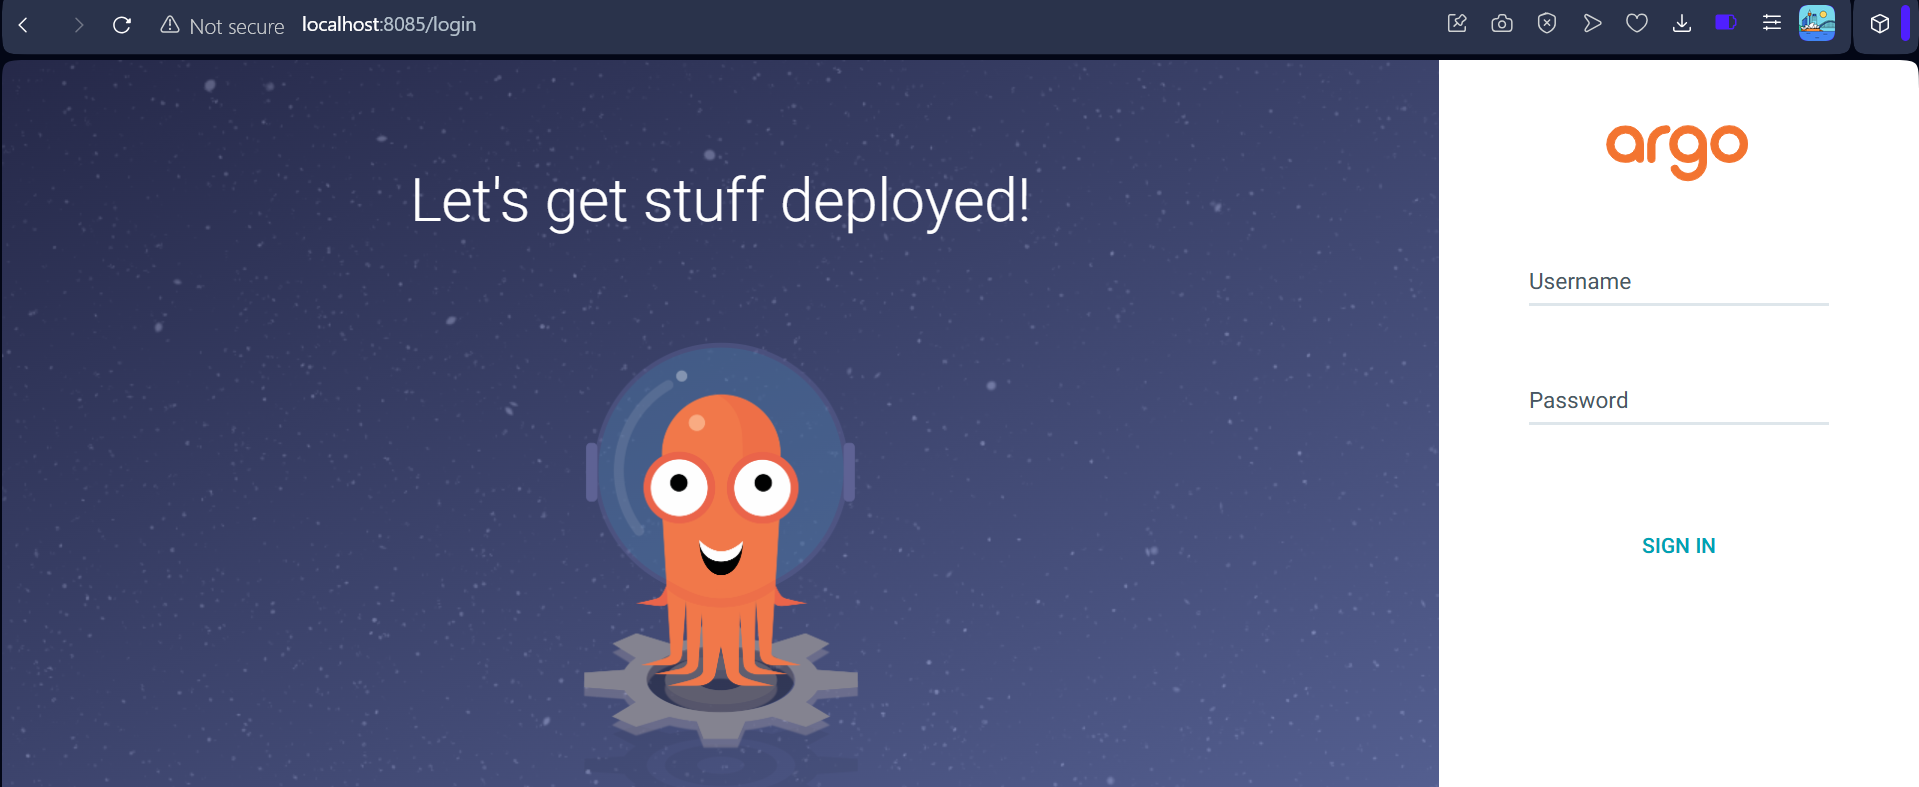
You can now access the ArgoCD UI in your browser at https://localhost:8080.
2.2 Retrieve the Admin Password
kubectl -n argocd get secret argocd-initial-admin-secret -o jsonpath="{.data.password}" | base64 -d; echo
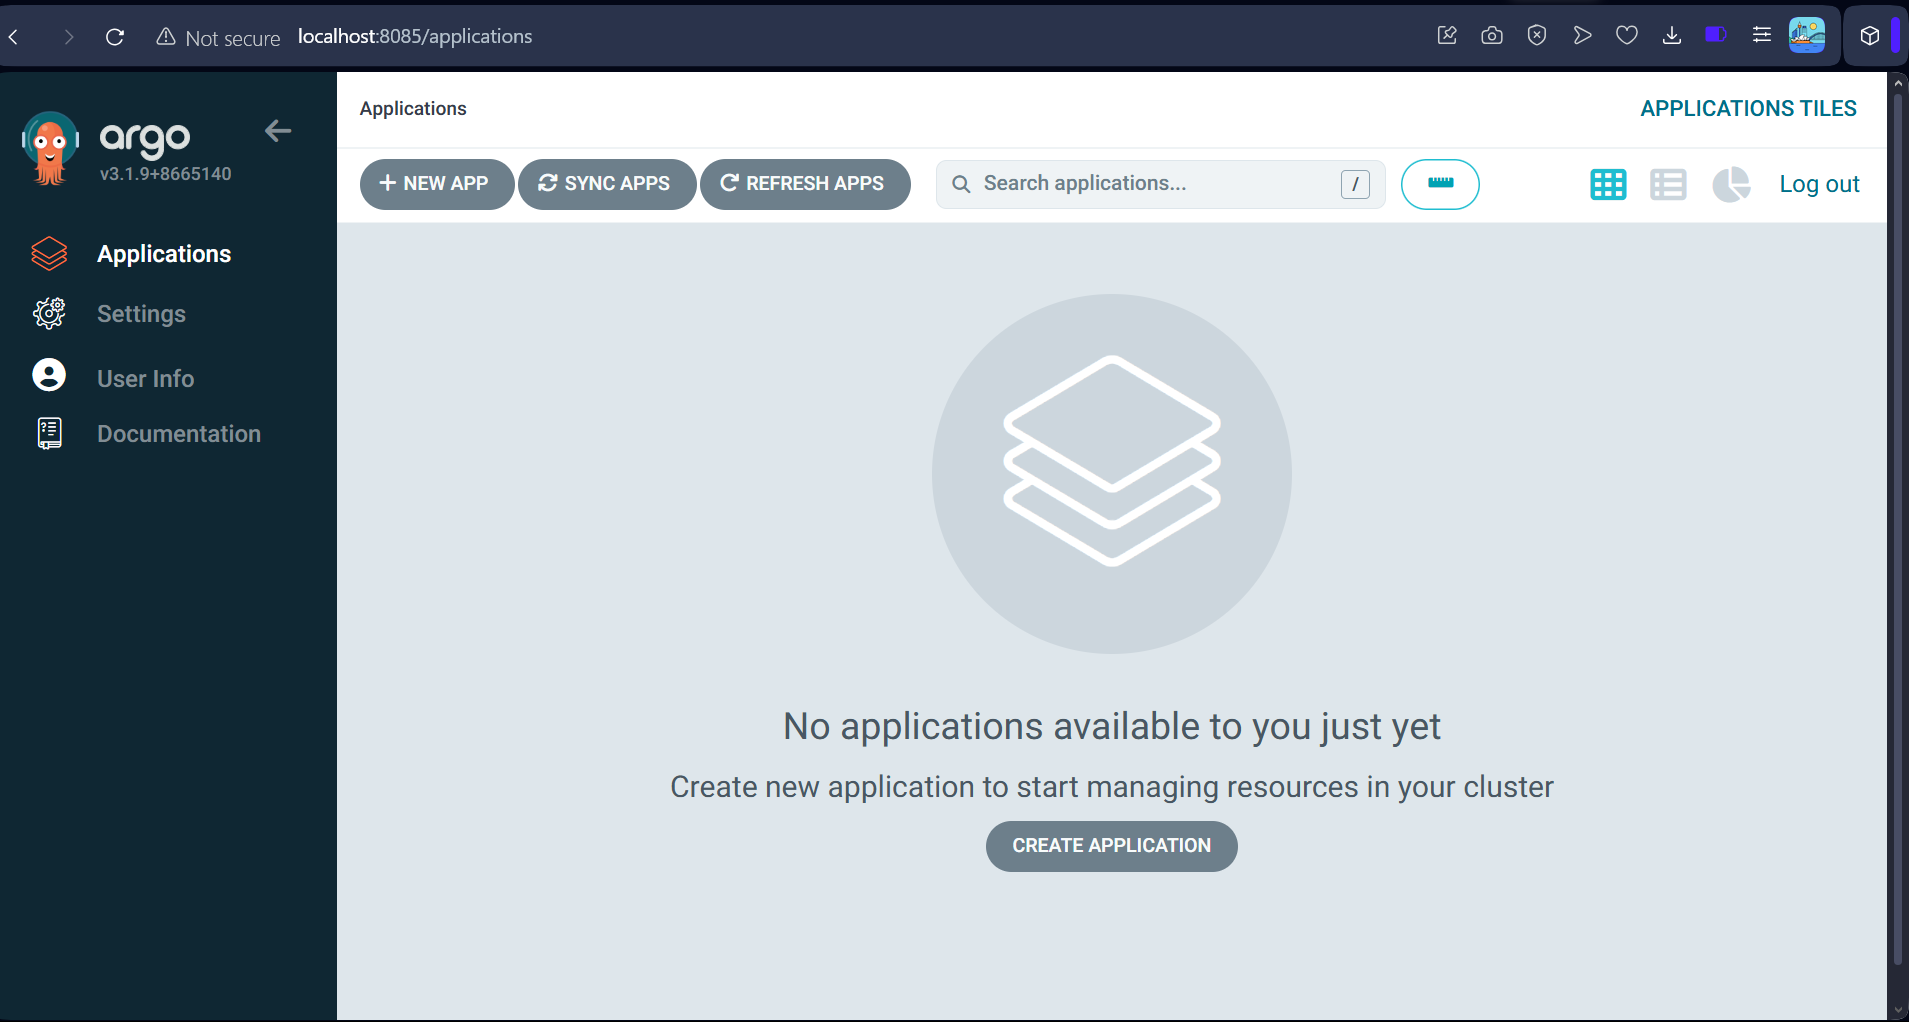
Use admin as the username and the retrieved password to log in.
2.3 Commit and Push Your Manifests
If you made any changes to the deployment.yaml and service.yaml files, commit and push them to your Git repository. ArgoCD will track these changes.
3. Register Your Application with ArgoCD
This section guides you through creating an ArgoCD Application resource that links your Git repository to your Kubernetes cluster.
3.1 Using the ArgoCD UI
- Log in to the ArgoCD UI
- Click on “NEW APP”
- Fill in the details:
- Application Name: spring-app
- Project: default
- Sync Policy: Automatic (with Prune and Self Heal enabled for best GitOps practices)
- Repository URL: The URL of your Git repository (https://github.com/DivineTheAnalyst/spring-argocd.git)
- Revision: HEAD or a specific branch (e.g., main)
- Path: The directory containing your manifests (kubernetes)
- Cluster: in-cluster (or the name of your registered cluster if external)
- Namespace: default (or your target namespace)
- Click “CREATE”
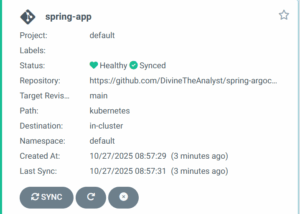
Understanding Sync Options:
- Prune: When enabled, ArgoCD will automatically delete resources from your cluster that no longer exist in Git. This keeps your cluster clean and prevents resource drift.
- Self Heal: When enabled, ArgoCD will automatically revert any manual changes made directly to the cluster, ensuring Git remains the single source of truth.
3.2 Using the ArgoCD CLI (Alternative Method)
First, install the ArgoCD CLI:
curl -sSL -o /usr/local/bin/argocd https://github.com/argoproj/argo-cd/releases/latest/download/argocd-linux-amd64

chmod +x /usr/local/bin/argocd
Log in to ArgoCD via CLI:
argocd login localhost:8080
Create the application:
argocd app create spring-app

--repo https://github.com/DivineTheAnalyst/spring-argocd.git

--path kubernetes

--dest-server https://kubernetes.default.svc

--dest-namespace default

--sync-policy automated

--auto-prune

--self-heal
4. Observe and Manage Your Application
This section explains how to monitor your deployed application within ArgoCD.
4.1 Syncing the Application
Once the application is created, ArgoCD will automatically detect the manifests in your Git repository and begin deploying them to your cluster (if Auto-sync is enabled). You can also manually sync:
- UI: Click the “SYNC” button on your application’s overview page
- CLI: argocd app sync spring-app
4.2 Application Health and Status
ArgoCD provides a visual representation of your application’s health and sync status:
- Healthy: All resources are running as expected
- Synced: The application’s state in the cluster matches the Git repository exactly
- OutOfSync: There are differences between the desired state in Git and the actual state in the cluster. This happens when:
- You’ve pushed changes to Git that haven’t been applied yet
- Someone made manual changes directly to the cluster
- Resources were added or removed outside of GitOps workflow
4.3 Rollbacks and GitOps Workflow
To update or rollback your application, simply modify your Kubernetes manifests in the Git repository and push the changes. ArgoCD will detect the changes and apply them automatically, maintaining the GitOps principle. This means:
- No need to run kubectl commands manually
- Every change is tracked in Git history
- Rolling back is as simple as reverting a Git commit
- Your entire deployment history is auditable
Troubleshooting
Pods Stuck in Pending State
If ArgoCD pods remain pending, your cluster needs more resources. Scale your node count:
az aks scale –resource-group aks-cluster –name spring-app –node-count 2
Application Shows OutOfSync
Check what’s different between Git and your cluster:
- In the ArgoCD UI, click on your application
- Click “APP DIFF” to see exactly what’s different
- Sync manually or wait for auto-sync if enabled
Cannot access ArgoCD UI
Make sure port forwarding is still running. If the connection drops, run the port-forward command again:
kubectl port-forward svc/argocd-server -n argocd 8080:443
Conclusion
ArgoCD provides a powerful and intuitive platform for implementing GitOps, enabling declarative, automated, and auditable application deployments. By following this guide, you should now be able to successfully set up ArgoCD and deploy your applications with confidence. This approach promotes consistency, reliability, and faster deployment cycles, which are crucial for modern software development.
The key benefits you’ve gained:
- Automated synchronization between Git and your cluster
- Visual monitoring of your application’s health
- Easy rollbacks through Git history
- Reduced manual kubectl commands
- Better security through Git-based audit trails
Further Reading
About the Author
Want to connect or read more of my technical guides? Find me on LinkedIn or check out my other articles on Medium. I write about DevOps, Kubernetes, cloud infrastructure, and practical implementation guides for developers.
GitHub Repository: github.com/DivineTheAnalyst/spring-argocd

